Zapier Integration
You can now integrate any tool your team uses with BrandChamp using our Zapier integration.
Zapier helps your team streamline workflows and create an easier, faster way to manage your BrandChamps and ambassador program; without writing any code.
What’s New
We’ve recently expanded our Zapier integration to include 3 new triggers:
- Task Status Updated
- Task Submitted
- Transaction Recorded
This gives you more flexibility to automate everything from tracking engagement to rewarding referrals.
Available Trigger Events
When creating a Zap, you can choose from 7 different trigger events:
✅ Applicant Applied
Triggers when someone applies to join your program.
Includes answers to any application form questions.
✅ BrandChamp Added
Triggers when a new applicant is approved or when a previously removed applicant is restored.
Includes answers to any application form questions.
✅ BrandChamp Removed
Triggers when a BrandChamp is removed from your program or a previously approved applicant is rejected.
✅ BrandChamp Updated
Triggers when any supported property is updated.
Tip: This event includes special properties like “<PropertyName> updated?” boolean fields so you can filter based on exactly what changed (e.g., if “Registered” changed to “true”).
🆕 Task Status Updated
Triggers when the status of a task changes.
Use this to monitor when tasks are approved, rejected, or marked complete.
Example: Notify your team in Slack when an ambassador’s content is approved.
🆕 Task Submitted
Triggers as soon as an ambassador submits a task.
Example: Automatically create a record in Google Sheets to track submissions.
🆕 Transaction Recorded
Triggers when a transaction is logged (for example, when a referral sale is recorded).
Example: Send a thank-you email or update your rewards sheet.
How to Integrate BrandChamp with Zapier
Below is the process for connecting your BrandChamp account and setting up your first Zap:
Step 1: Create a New Zap and Set Up the Trigger
-
From your Zapier account, click Create a Zap.
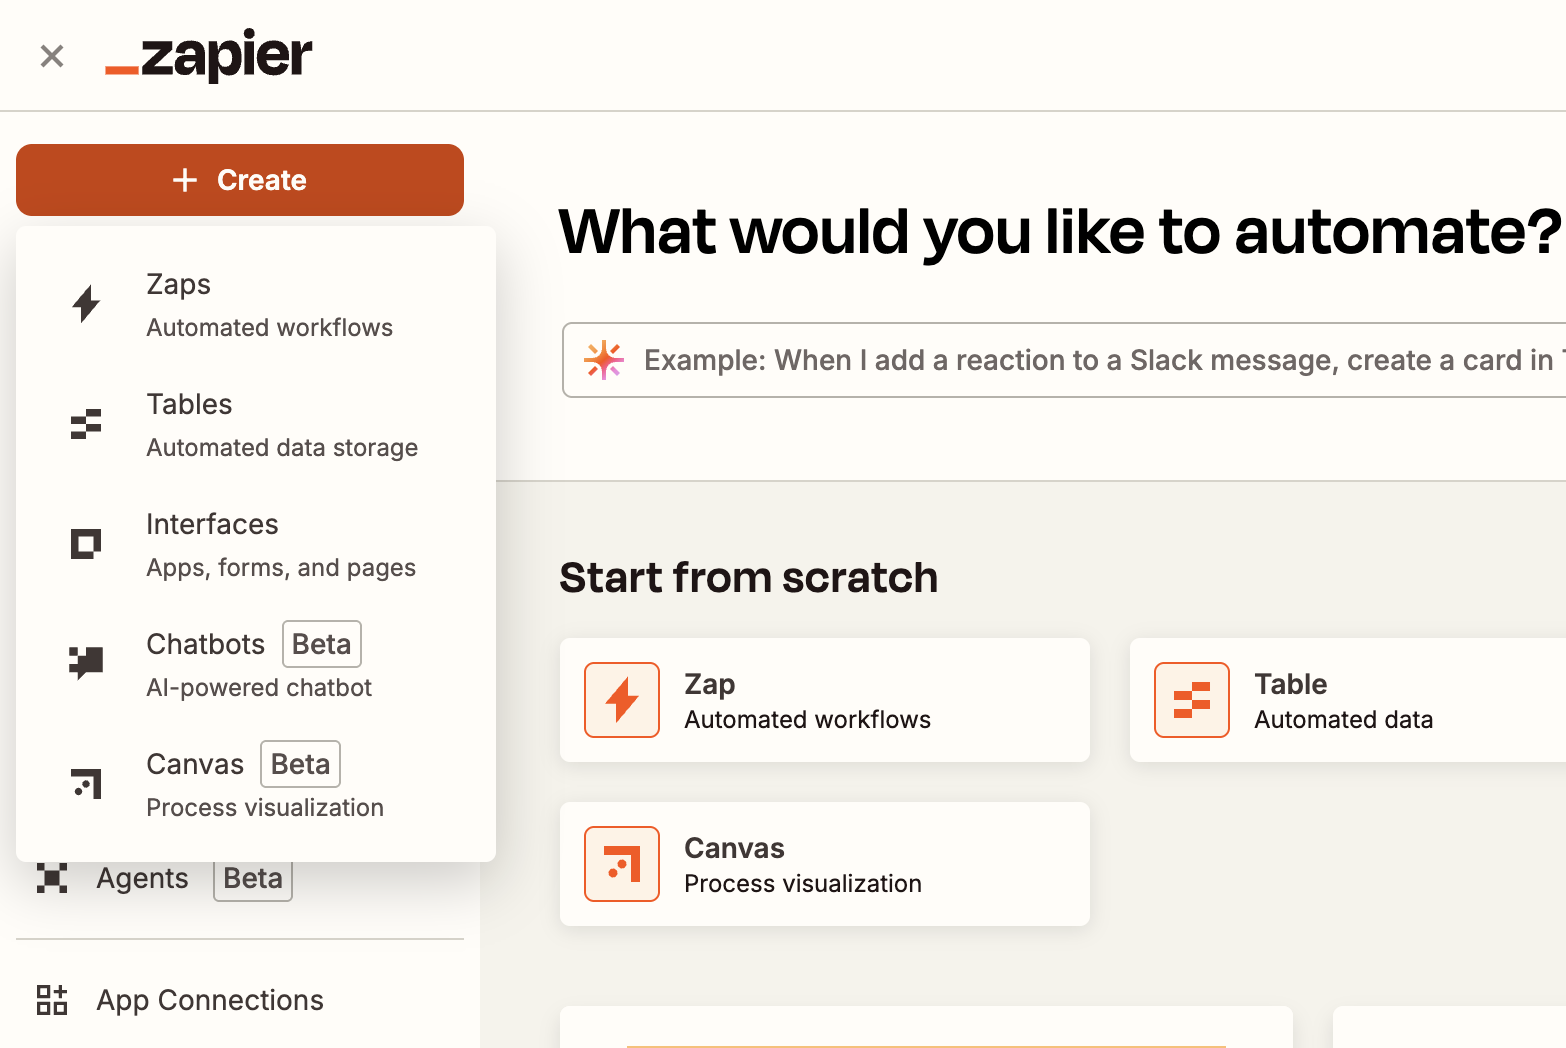
-
Search for BrandChamp and select it.

-
Choose one of the 7 trigger events listed above.
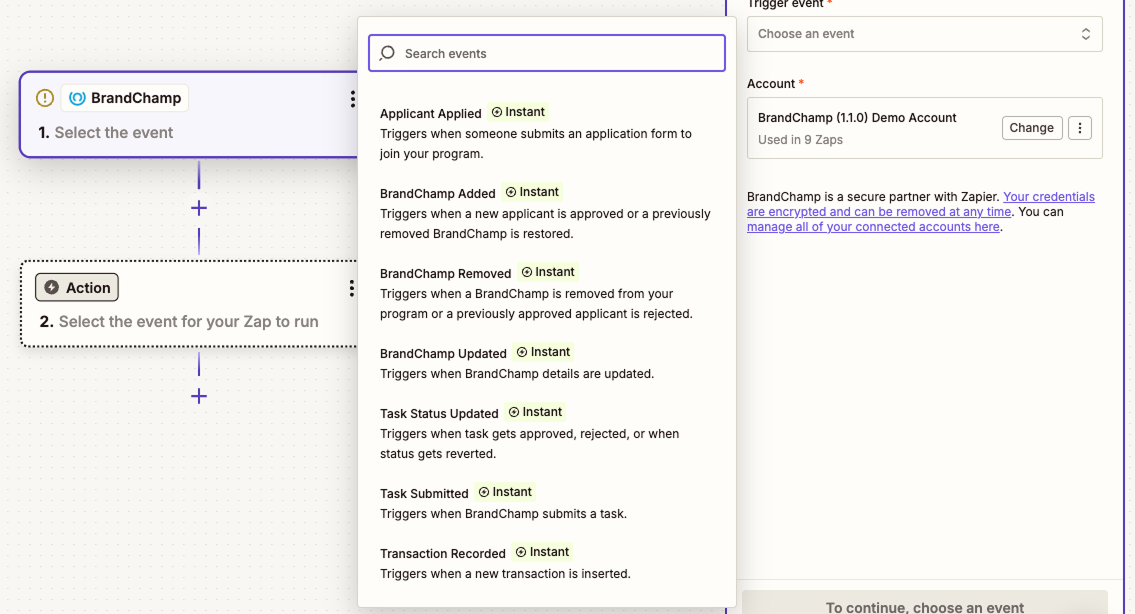
- Click Continue.


Step 2: Connect Your BrandChamp Account
- When prompted to choose an account, select BrandChamp (1.1.0).
-
Click Connect to link your BrandChamp account.
To get your Account ID and API Key, log into BrandChamp:
- Go to Settings > Integrations.
- Click View next to Zapier.
- Copy your Account ID and API Key.
- Paste these credentials into Zapier.
Step 3: Test Your Trigger
- Zapier will pull example data (e.g., a recent applicant or task submission).
- Select a record to test and click Continue with Selected Record.
Step 4: Set Up Your Action
- Choose the app where you’d like the action to occur (e.g., Slack, Google Sheets).
- Select the specific action (e.g., Send Channel Message).
- Map BrandChamp fields to the action fields.
- Customize your message or data as needed.
Step 5: Test and Publish
- Click Test Action to verify everything works.
- If successful, click Publish Zap.
Your Zap is now live and will run automatically when the selected trigger occurs.
Tips & Best Practices
Checking if a Property Has Changed
- When using the BrandChamp Updated trigger, use the “<PropertyName> updated?” fields to filter for specific property changes.
Perform an Action When a BrandChamp Registers
- Use the BrandChamp Updated event (not BrandChamp Added) to track first-time registration.
- Filter for when “Registered updated?” is true and “Registered” equals “true.”

Syncing Registered BrandChamps to External Systems
- Start with the BrandChamp Updated trigger.
- Filter for “Registered = true.”
- Use actions in tools like Klaviyo to create or update profiles.

Removing BrandChamps
- Use the BrandChamp Removed trigger.
- Add an action (e.g., remove a profile from your mailing list).
- Use search steps to match the profile before removal.


📘 Need Help?
If you have any questions or need assistance, please reach out to our support team or refer to Zapier’s help center for additional guidance.